MongoDB
1、NoSql简介
不同于传统的关系型数据库的数据库管理系统
分类
列存储(HBase)
文档存储(MongoDB)
Key-value(Redis)
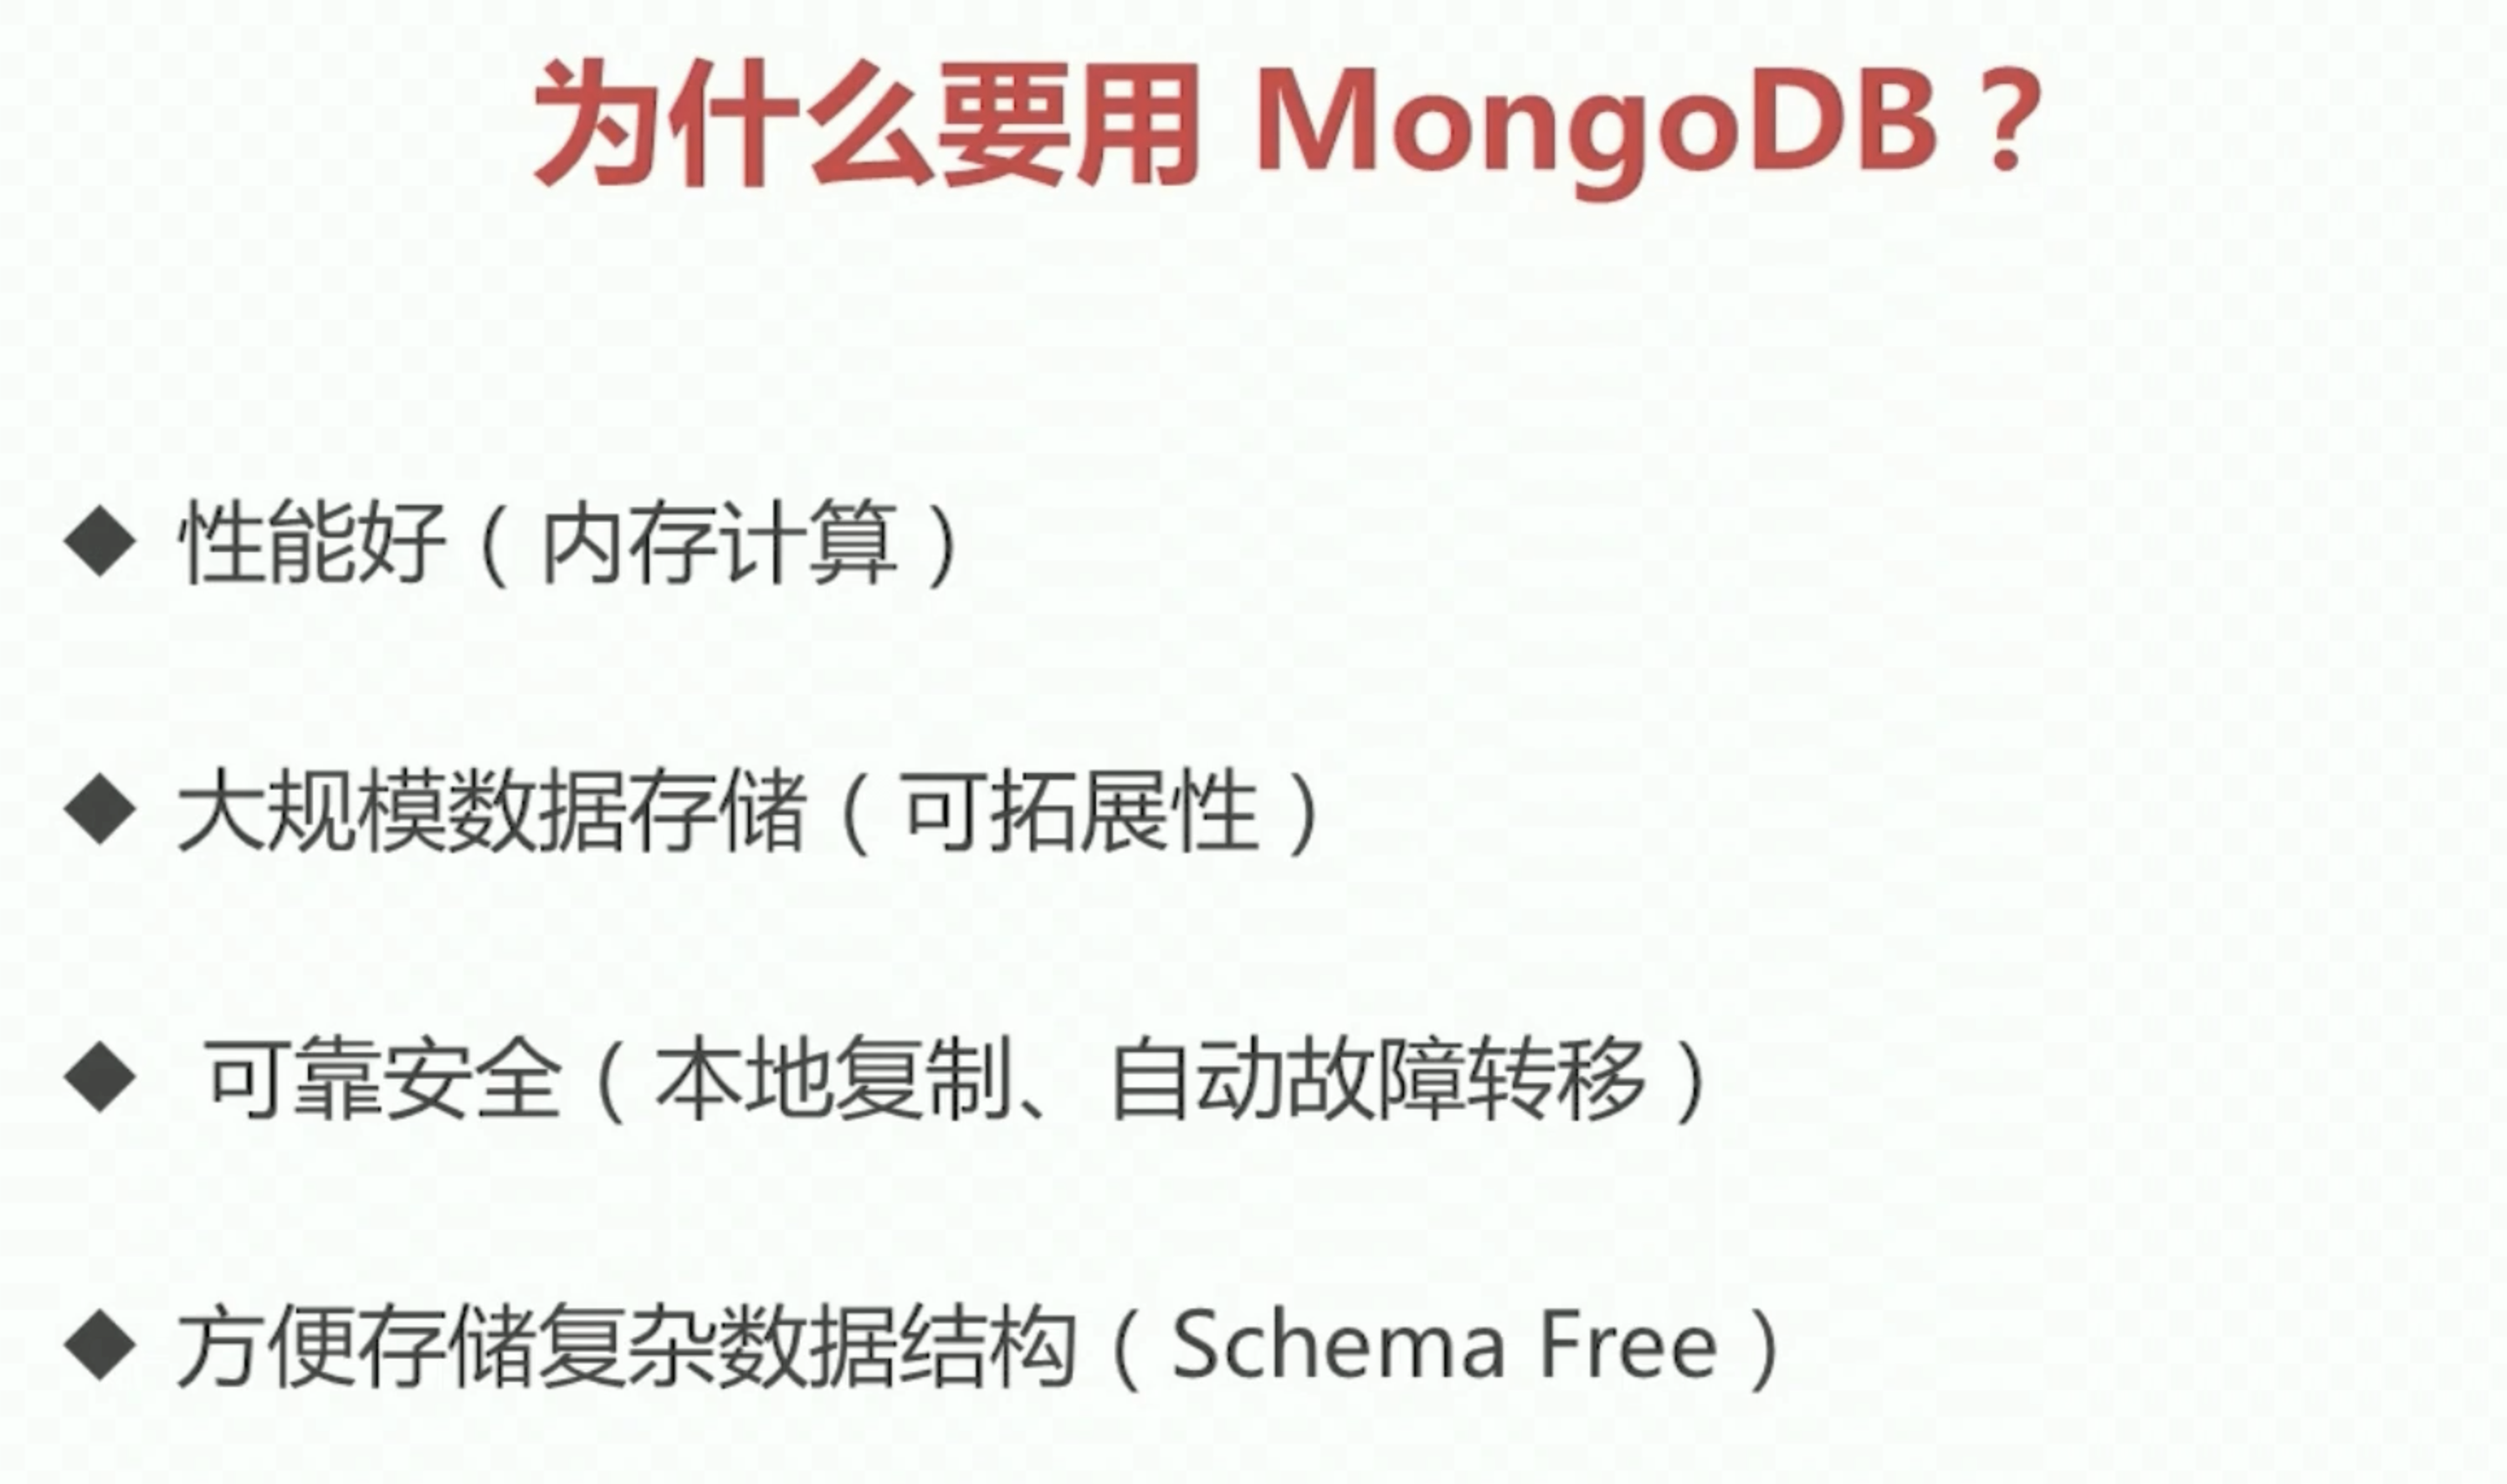
优势

2、MongoDB简介

3、基本操作
安装
https://www.runoob.com/mongodb/mongodb-osx-install.html
https://juejin.cn/post/6844903797907537928
创建日志及数据库存放目录
- 数据存放路径:
bash
sudo mkdir -p /usr/local/var/mongodb- 日志文件路径:
bash
sudo mkdir -p /usr/local/var/log/mongodb启动MongoDB服务
bash
# 进入mongodb安装目录
cd /usr/local/mongodb/bin
# 启动mongodb
./mongod --port 27017 --auth --dbpath /usr/local/var/mongodb --logpath /usr/local/var/log/mongodb/mongo.log --logappend --fork- --dbpath 设置数据存放目录
- --logpath 设置日志存放目录
- --fork 在后台运行
- --port 运行端口
- **--mongodb 错误日志采用追加模式,mongodb的日志会追加到现有的日志文件,而不是从新创建一个新文件 **
**logappend=true** - --auth 开启认证

查看 mongod 服务是否启动
bash
ps aux | grep -v grep | grep mongod
停止运行
https://blog.csdn.net/zipack/article/details/80619191
使用以上命令如果看到有 mongod 的记录表示运行成功。
连接 MongoDB
bash
cd /usr/local/mongodb/bin
./mongo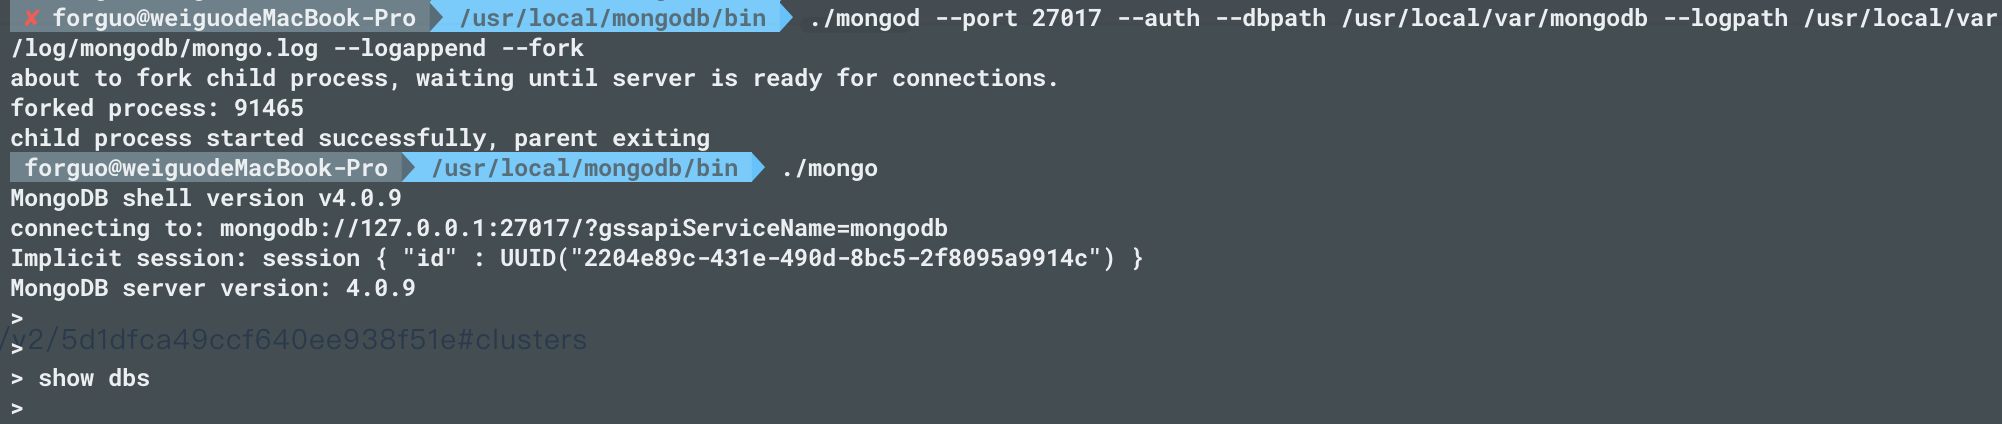
我们启动服务时开启了,auth,所以此时执行show dbs没有权限,也就没有数据。
用户管理
bash
#使用admin数据库
use admin

#查看有所有数据库
show dbs ## => 我们启动服务时开启了,auth,所以此时执行show dbs没有权限,也就没有数据超级管理员用户
创建一个名为 admin,密码为 123456 的用户。
bash
use admin
db.createUser({user:"admin",pwd:"123456",roles:["root"]}) // admin这个数据库是系统自带的数据库,他的用户可以访问任何其他数据库的数据,也叫做超级管理员

# 尝试使用上面创建的用户信息进行连接。
db.auth('admin', '123456') //=> 通过超级管理员验证 => 1 表示验证通过 0表示验证失败

show dbs

# ====> 认证之后就有数据了。
admin      0.000GB
attendees  0.000GB
config     0.000GB
local      0.000GB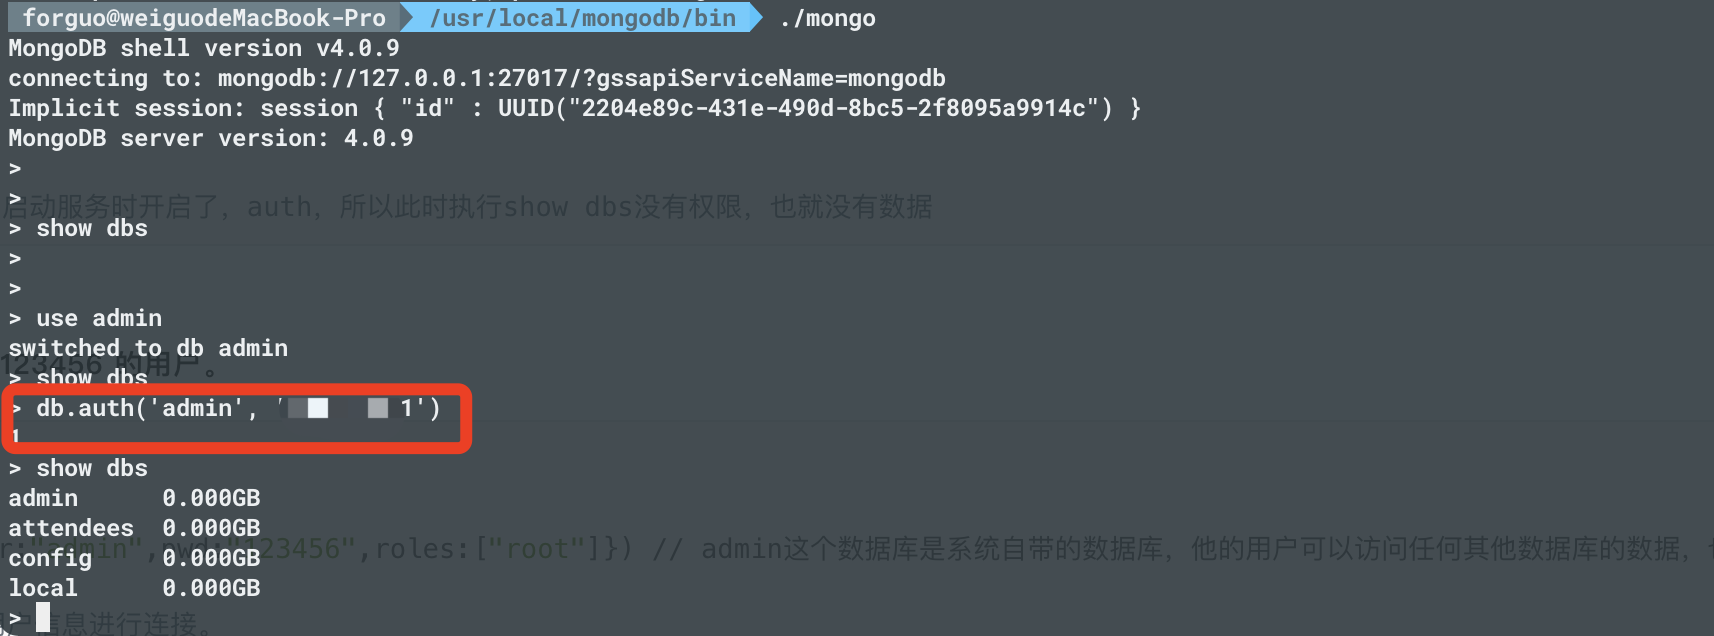
通过认证之后之后再去执行 show dbs,就可以返回数据了。
创建普通用户(某个数据库的用户)
bash
use admin //=>进入admin数据库

db.auth("admin","password") //=> 通过超级管理员验证

use blog

db.createUser({user: "blog", pwd: "password", roles: [{ role: "dbOwner", db: "blog" }]})

show dbs => admin 0.000GB blog 0.000GB config 0.000GB local 0.000GB这里我们要注意一点,给创建普通数据库用户的时候要是在超级管理员验证完之后创建。
查看账户
查看全局所有账户
通过超级管理员验证之后
bash
db.system.users.find().pretty()当前库下的账户
bash
show users关闭服务
bash
use admin;
db.adminCommand({ "shutdown" : 1 })4、云数据库
MongoDB Atlas
https://cloud.mongodb.com/v2/5d1dfca49ccf640ee938f51e#clusters

5、数据库操作
数据库连接
Node.js环境
javascript
const mongoose = require('mongoose');

/******************
* 数据库连接 Start
******************/

// 数据库配置
const dataBase = config.dataBase;

// 数据库连接字符串
const dbStr = `${dataBase.pre}${dataBase.user}:${dataBase.pwd}@${dataBase.url}/${dataBase.name}`;
spinner.start(chalk.blue(`MongoDB connected start!\n`));

// 连接MongoDB数据库
mongoose.connect(dbStr, {useNewUrlParser: true, useUnifiedTopology: true});

mongoose.connection.on('connected', function (e) {
  spinner.stop();
  console.log(chalk.green(`MongoDB connected success~ `));
});

mongoose.connection.on('error', function () {
  spinner.stop();
  console.log(chalk.red(`MongoDB connected fail!`));
});

mongoose.connection.on('disconnected', function () {
  spinner.stop();

  console.log(chalk.red(`MongoDB connected disconnected!`));
});

/******************
* 数据库连接 End
* ***************/6、Schema设计

javascript
/**
 *@description: 用户Schema
 *@author: forguo
 *@date: 2021/3/24
 */
const mongoose = require('mongoose');
const { Schema, model } = mongoose;
const UserSchema = new Schema({
    userName: {
        type: String,
        required: true
    },
    userPwd: {
        type: String,
        required: true,
      	select: false // 默认不返回
    },
    gender: {
        type: String,
        required: false
    }
});
module.exports = model('User', UserSchema);7、Mongoose实现增删改查
javascript
/**
 *@description: usersController
 *@author: forguo
 *@date: 2021/3/20
 */
const { v4: uuidV4 } = require('uuid');
const User = require('../models/users');
class Controller {
    // 查找所有
    async find(ctx) {
        ctx.body = await User.find();
    }

    // 更新
    async findByIdAndUpdate(ctx) {
        ctx.verifyParams({
            userName: {
                type: 'string',
                required: true,
            },
            userPwd: {
                type: 'string',
                required: true,
            },
        });
        let user = ctx.request.body;
        let res = await User.findByIdAndUpdate(ctx.params.id, user);
        if (!res) {
            ctx.throw(404, '该用户不存在')
        } else {
            ctx.body = user;
        }
    }

    // 创建
    async create(ctx) {
        ctx.verifyParams({
            userName: {
                type: 'string',
                required: true,
            },
            userPwd: {
                type: 'string',
                required: true,
            },
        });
        let user = ctx.request.body;
        user = {
            userId: `${uuidV4()}`,
            ...user,
        }
        ctx.body = await new User(user).save();
    }

    // 查询特定
    async findOne(ctx) {
        let res = await User.findById(ctx.params.id);
        if (!res) {
            ctx.throw(404, '该用户不存在')
        } else {
            ctx.body = res;
        }
    }

    // 删除某一个
    async remove(ctx) {
        let res = await User.findByIdAndRemove(ctx.params.id);
        if (!res) {
            ctx.throw(404, '该用户不存在')
        } else {
            ctx.status = 204;
        }
    }
}

module.exports = new Controller();8、数据库联表查询
Schema 设计
javascript
  // 与会者
    attendees: {
        type: [
            {
                type: Schema.Types.ObjectId, // 通过ObjectId与Attendee表关联
                ref: 'Attendee' // 通过ObjectId与Attendee表关联
            }
        ],
        select: false
}查询
populate('attendees locations')
javascript
// .populate('attendees'); 获取与之id对应的详细信息
const res = await Activity.findById(ctx.params.id).populate('attendees');返回结果,为attendees表所对应详情数据
javascript
{
  attendees: [
    {
      gender: 'male',
      _id: 606060abe88776334b50b319,
      user_mobile: '17690909012',
      user_name: '测试姓名111'
    },
    {
      gender: 'male',
      _id: 6060622ce55da633f52fa8ad,
      user_mobile: '176909090114',
      user_name: '测试姓名111'
    },
    {
      gender: 'male',
      _id: 6060628d8b160534304e68a1,
      user_mobile: '176909090111',
      user_name: '测试姓名111'
    }
  ],
  _id: 605ece41697285055e80969b,
  title: '活动报名',
  intro: '活动介绍'
}修改数据
javascript
// 查询当前活动与会者信息,只查询对应id
const activity = await Activity.findById(ctx.params.id).select('+attendees');

activity.attendees.push(attendee._id);

// 更新当前活动报名数据
activity.save();9、分页实现
limit、和skip
javascript
// 分页参数
let {
  current = 1,
  size = 10
} = ctx.query;

current = Math.max(current * 1, 1) - 1;
size = Math.max(size * 1, 10);
ctx.body = await Activity.find().limit(size).skip(current * size);10、模糊搜索
javascript
Activity.find({
		title: new RegExp(ctx.query.q) // 模糊搜索
})css
OCI runtime exec failed: exec failed: unable to start container process: exec: "mongo": executable f